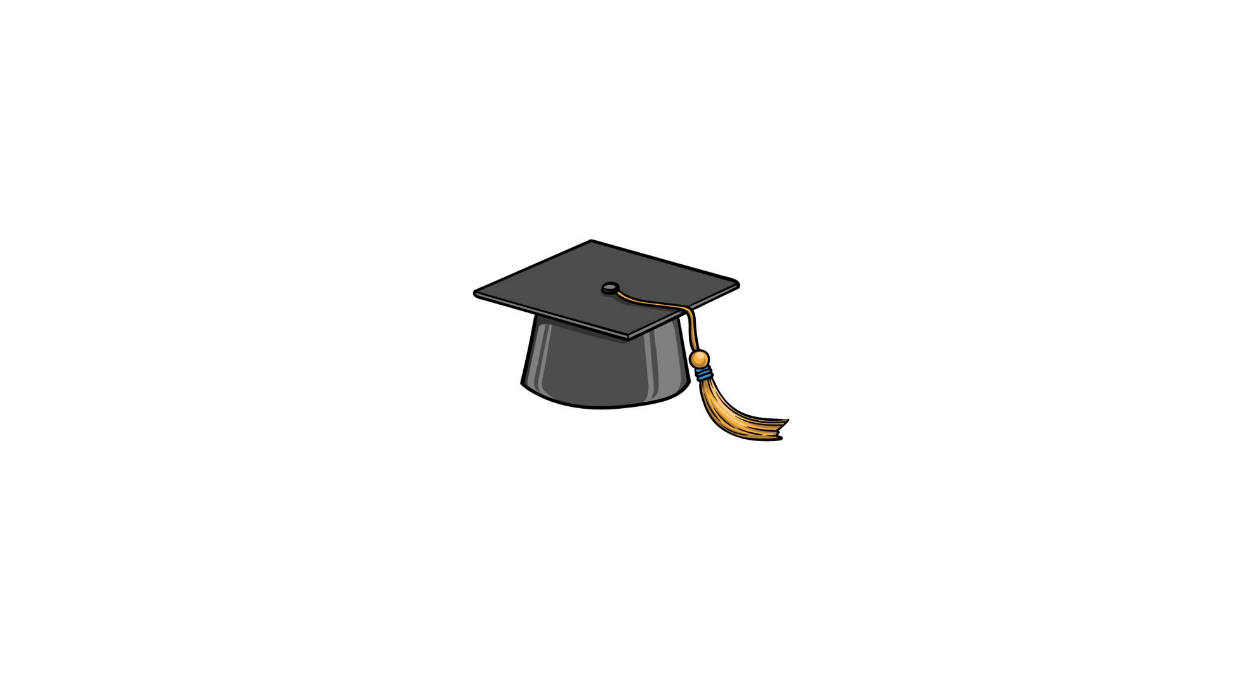
How to Draw A Graduation Cap. Graduation is one of the most important days in a person’s life. It symbolizes completing years of hard work and study and celebrates academic achievement.
Also, check our Rainbow Coloring Pages.
One of the most well-known aspects of this occasion is the flat cap that graduates are allowed to wear.
Learning how to draw a graduation cap can be a great way to capture the excitement of the occasion.
If you want to learn just that, then this is the guide for you!
This step-by-step tutorial on drawing a graduation hat will show you how to draw that distinctive one!
How to Draw A Graduation Cap
Step 1
In this first step of our tutorial on drawing a graduation hat, having a ruler handy will be much easier. Once you have your ruler ready, you can draw a side square.
It will tilt to the side to show it tilting a little. Then draw a line near the perimeter on the bottom two lines, leaving a small gap in the right corner.
Next, draw a circular shape in the centre of the square for the button above.
Step 2
You have the flat top of the hat, so now you can draw the bottom, which will be the part that goes over your head.
Use a few straight lines from the base of the flat top for the side of this part, and then use a curved line underneath connecting the two vertical lines.
That’s all you need to do for this step, and once you’ve added that part, you can move on to step 3!
Step 3
Graduation hats generally have a tassel hanging from the top of the hat. In step 3 of this guide to drawing a graduation cap, we will start with this aspect.
First, we draw the cord to which the tassel will be attached. To pull this cord, draw a curved line from the button above the hat, going down the side, so it hangs over the brim.
Then draw another line running next to it to finish the cord.
When this string is complete, we draw a circle at the end, as the tassel will be attached later.
Step 4
Now that you have the yarn for your tassel, we can draw it to design your graduation cap.
The tassel will attach to the circle you drew at the end of the string dangling on one side. First, draw three thin shapes on this circle for the beginning of the tassel.
Next, we can outline the flowing part of the tassel. You can draw it with two curved lines connected with a jagged flat line at the end.
Make sure you refer exactly to the reference image as you draw so you can see what we mean!
Once this tassel is done, the next step is for us to add a few details, and then you’re ready to finish it!
Step 5
This step of our graduation cap drawing guide is all about adding the final details to prepare you for the final step.
Once you’ve added those details, let’s look at some personal details you can add too!
First, let’s start by finishing the tassel. We will add some liner detailing to the tassel to make it look like it’s made up of many individual strands, like a real one.
With that, we’ll complete our details, but be sure to add any you like!
This could include a drawing of someone wearing their graduation cap. It could even be a selfie! Sometimes people draw pictures or messages on the mortarboard, so you could do that to personalize the hat.
Step 6
After you design your graduation cap, you can finish it with some cool colours in this part!
We kept the colours muted, using darker grey for the hat and a darker yellow for the tassel.
This is a suggestion, but you can use any colour for this image. If you’ve drawn additional details, like someone wearing a hat or a decoration, feel free to add more colour to those aspects.
We can’t wait to see what amazing colours and artistic mediums you will choose to complete this drawing!
Your Graduation Cap Drawing is Finished!